
I made a Prep and Testing Chamber, which has side-by-side chambers for making controlled experiments. In this way we can evaluate relative value differences between a variable in question and its control. We’ll get some information on how a condition performed in an absolute sense, but more importantly and more convincingly we’ll get be able to compare the efficacy of a certain condition relative to the control.
Anyway…
I made 2 pairs of circular disks, similar to the ones from before, except a lot larger (~5.5" OD).

This is something more akin to practical if we are considering using 6" PVC tubing as housing. This was done by making 2 pairs of circular ‘sandwiches’ that contain the sorbent inside.

The layers of the sandwich are: a 16ga steel ring (to hold the whole thing and be bolted to its mirror);

a wide steel mesh (to support the vinyl mesh); a 50 micron vinyl mesh (to support the sorbent). Each of these was affixed to its neighbors by rubber cement.
.

(note that the picture has caulk here, which failed, in the end i used rubber cement). After that I did use silicone caulk to function as a gasket between this grouping and its mirror. In between these layers the sorbent is placed.

This whole thing it bolted together in eight spots, to try to keep the sorbent from escaping. These setups I’m calling ‘cartridges’.
The Prep Chamber is made of steel that I welded together.
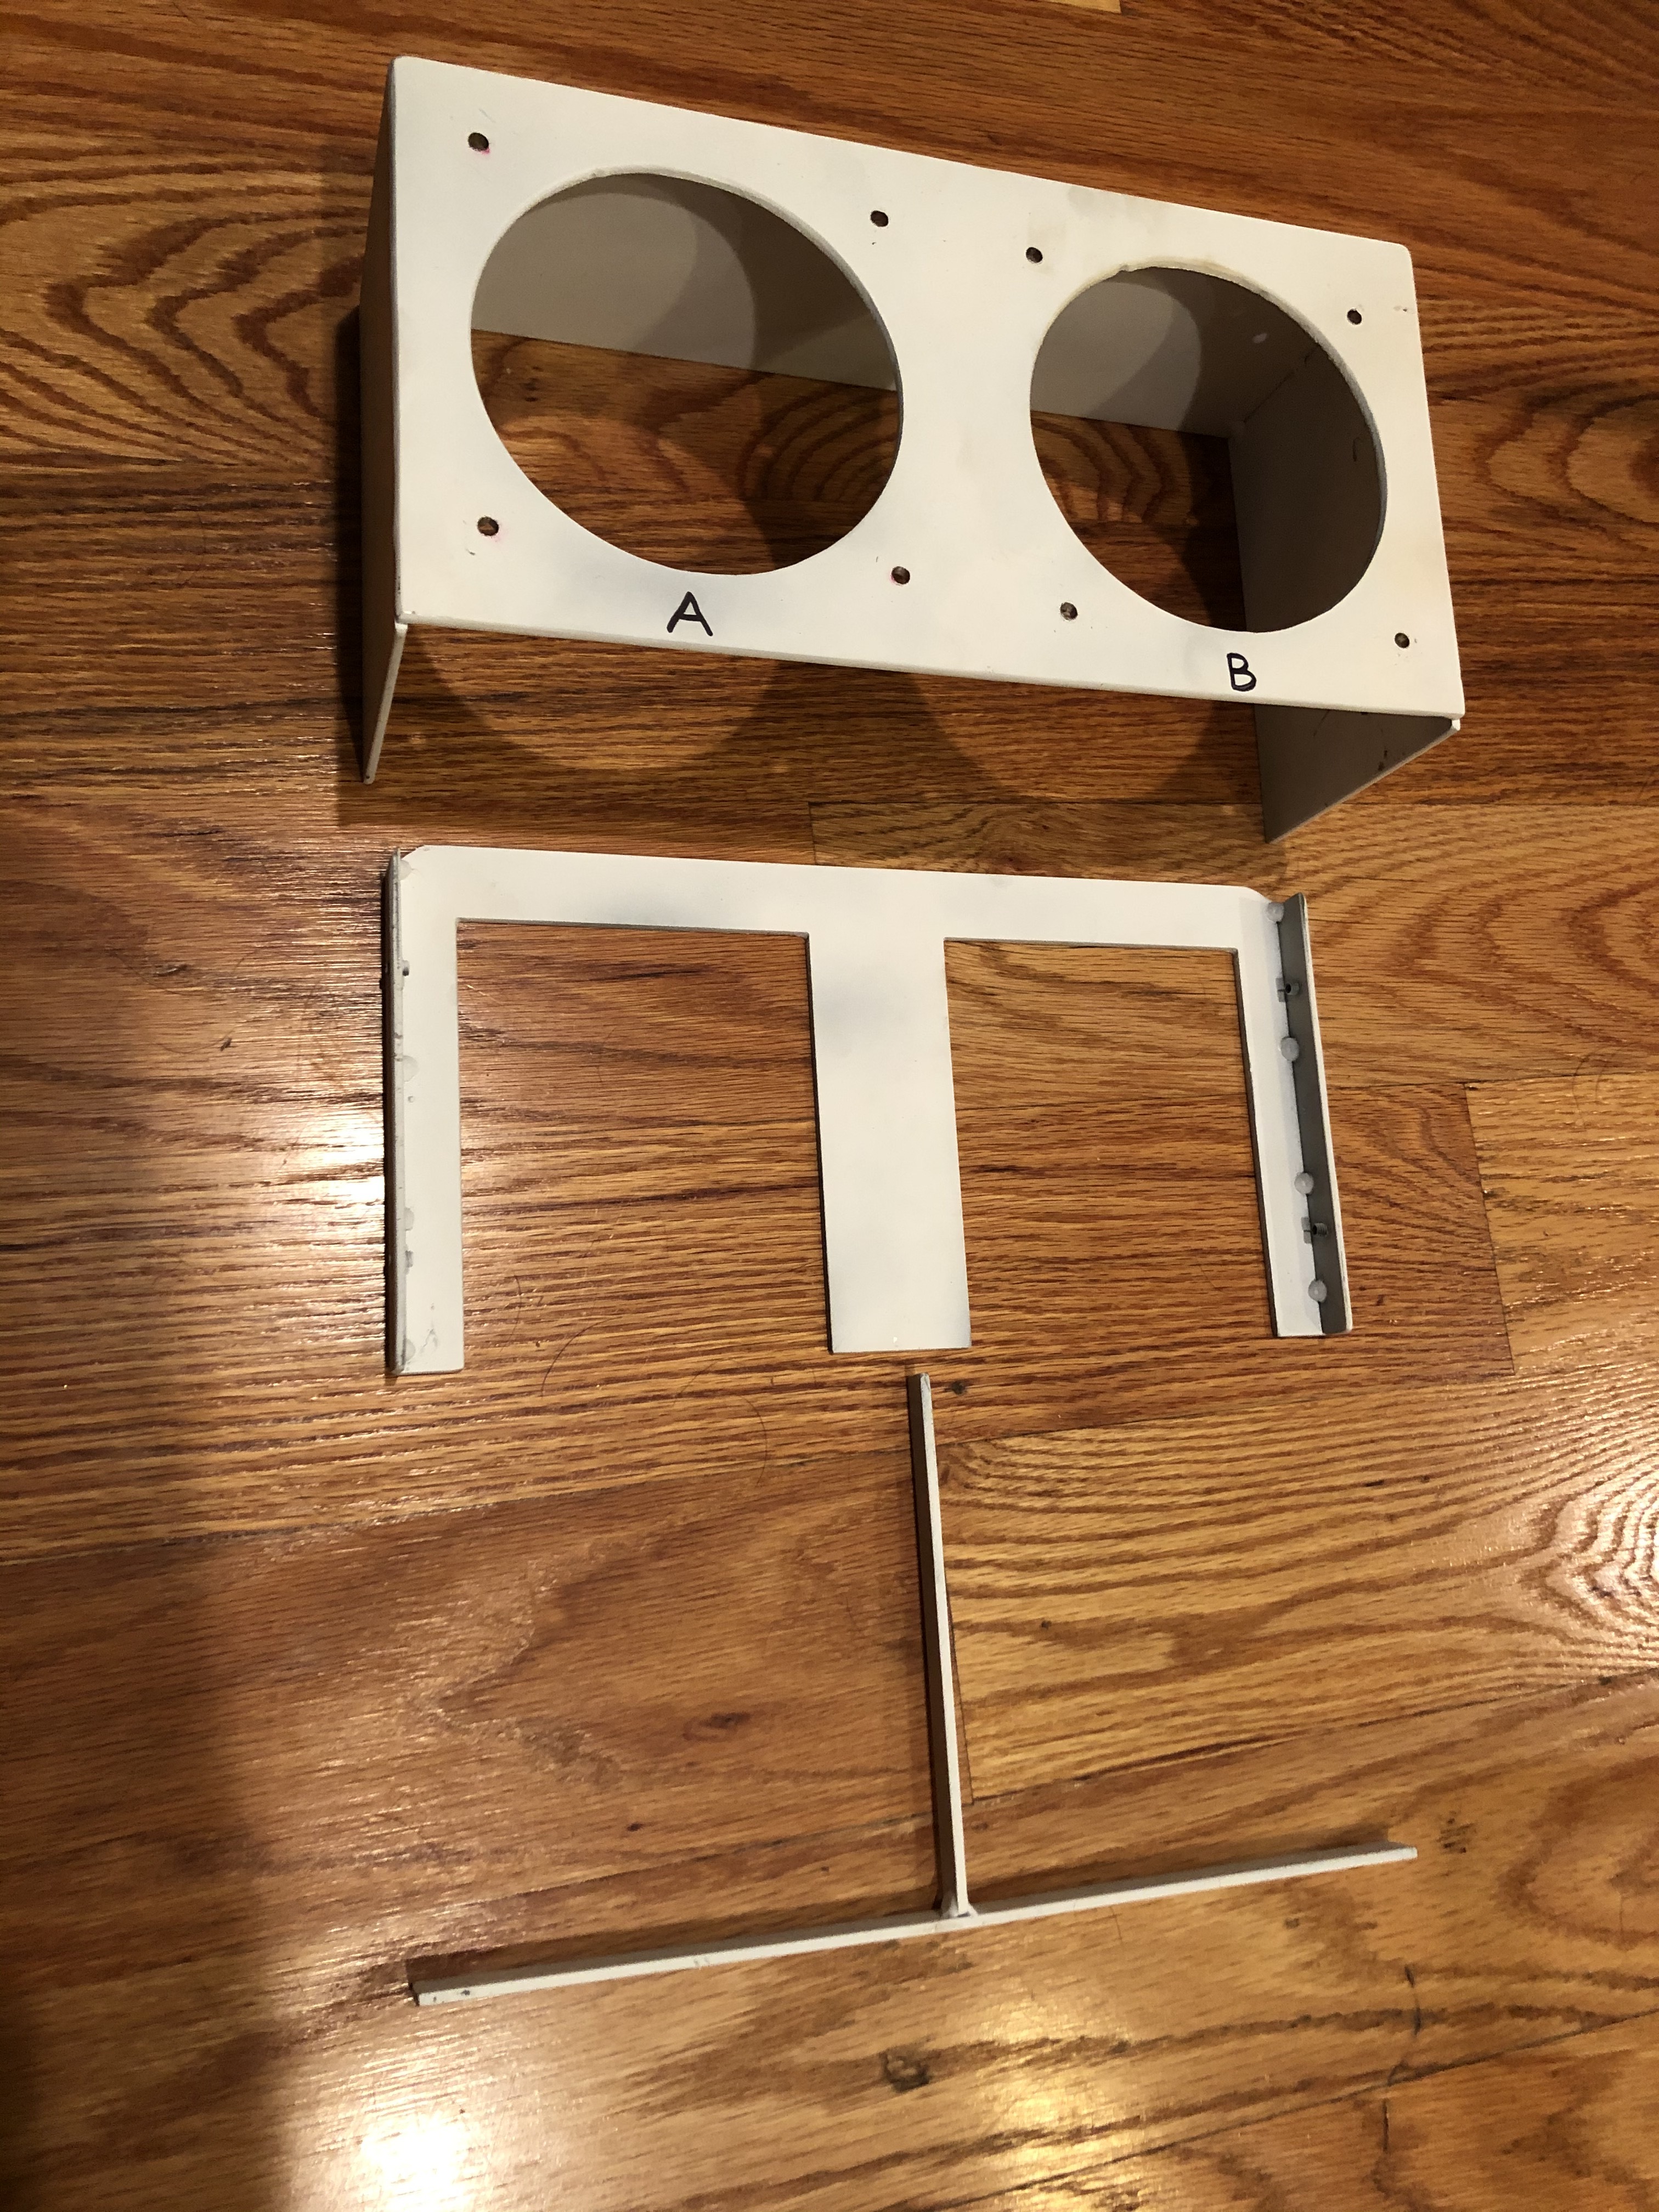
It is essentially a tissue box with two large circular holes at the top to permit direct airflow from two identical fans, placed immediately above the holes. Below is a plate who’s height is adjustable to accomodate different [future] cartridge depths. Once the cartidges are inserted a cap is inserted to try to seperate the two chambers.

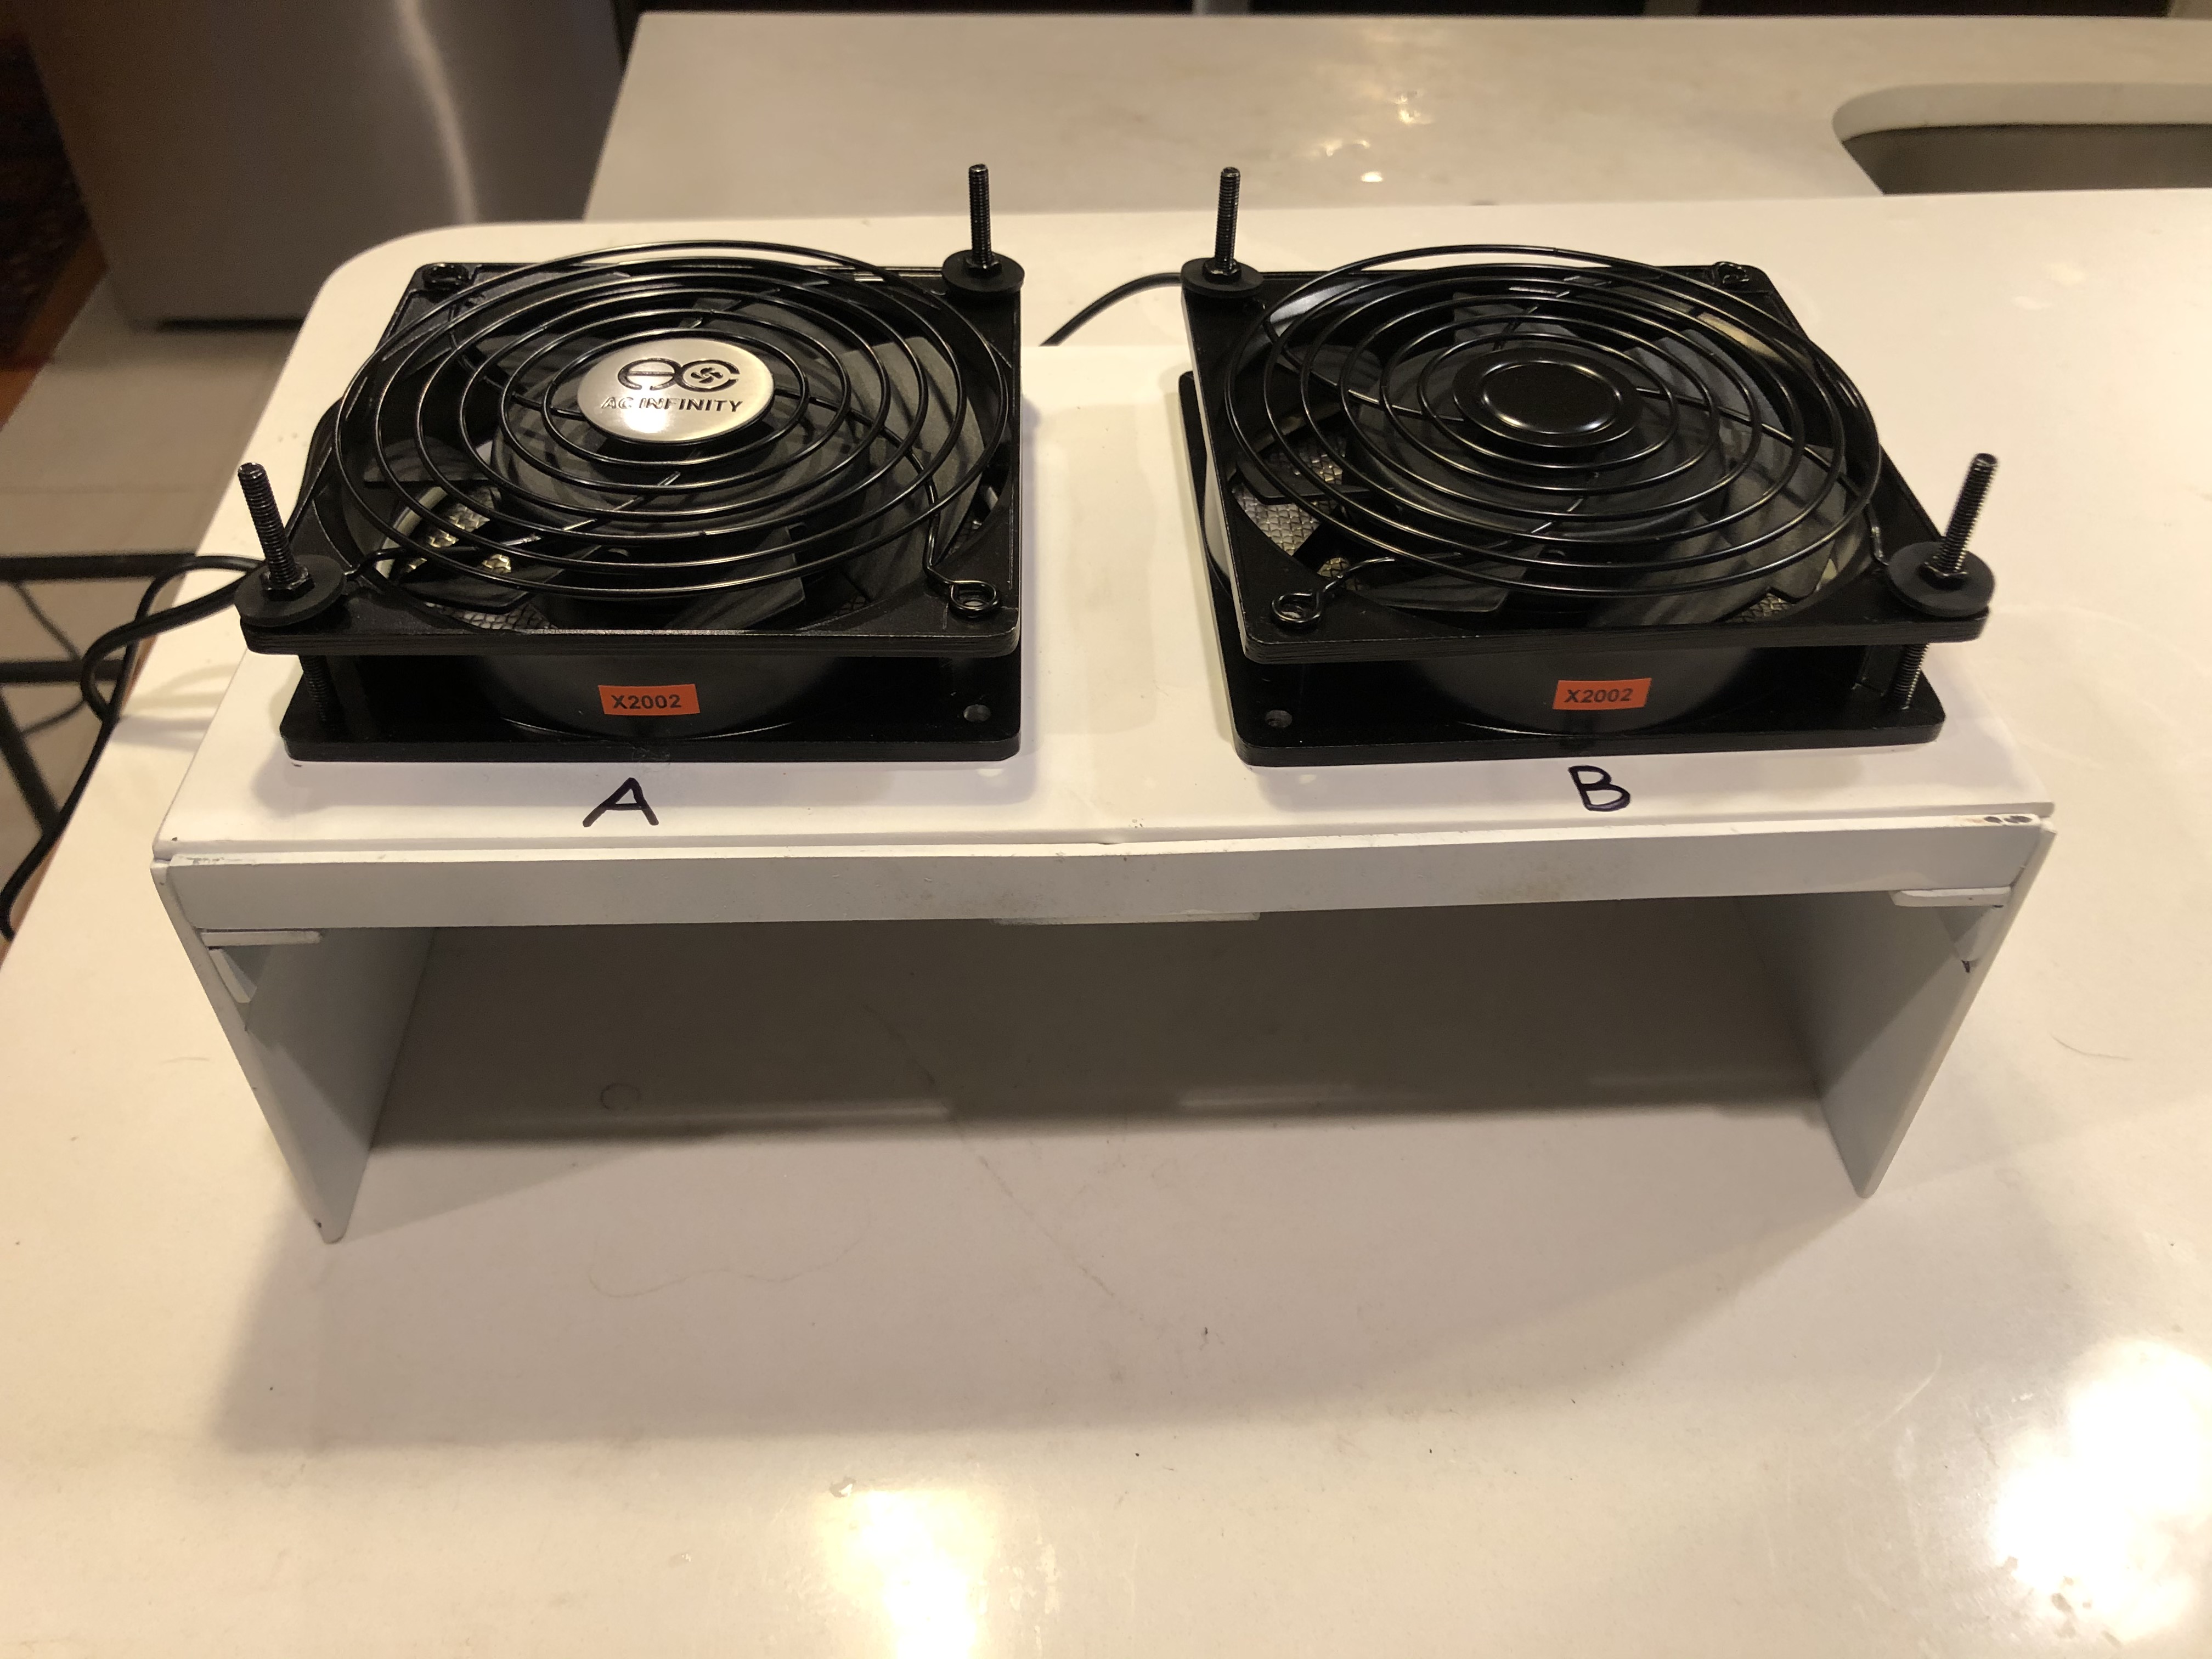
The fans should be adjustable in speed (another variable worth testing) but I bought the wrong ones.
The Testing Chamber part of this setup was made by purchasing a 6" dia acrylic cylinder and drilling a hole in the lower side for water transfer. Through this hole, a quick-connect bulkhead coupling was inserted and hot glued in place. A tube was connected between this coupling another, smaller, cylinder which had its own coupling arranged in the same manner. So then, if the small cylinder is filled with water, when it is raised it will transfer water to the larger chamber. Essentially a siphon.

The lid of the Testing Chamber was a piece of acrylic with the SCD30 sensor hot glued on the underside and the arduino board glued to the top. A hole permitted the jumpers to traverse, and the hole was then hot glued to seal hermetically.

After being fanned, the cartridges were inserted into their large cylinders and the small cylinder with water was raised to engulf the cartridges.


I used the highly engineered Scotch Tape to seal the lid

After ~15 minutes the small cylinder was then lowered to drain the water back out of the testing chamber. The arduino will have been taking readings this whole time. I will post results when this finishes. Thanks to Matt P for spending hours on zoom finding a way to get the arduino to export data to excel so we can post-process.
This first experiment, compared crushing sorbent versus not. Thus the control was the raw spherical sorbent straight from the manufacturer and the variable was the mortar-and-pestle-crushed sorbent. Both were prepared the same way regarding sorbent prep/anion exchange.
