Synthwave: Electrochemical CO2 Capture from Seawater

I attempted to recreate the technique described in the recent Hatton Lab paper called “Asymmetric chloride-mediated electrochemical process for CO2 removal from oceanwater”.

This attempt involved creating electrodes, setting up the equipment, and running the experiment. In this essay, I will discuss the obstacles I encountered and the lessons learned throughout the process.

Creation of the Electrodes

Constructing the bismuth electrode was relatively straightforward. I mixed the ingredients into a paste and spread it using the doctor blade method. However, the paper did not specify the amount of solvent to use, and I likely used too little, as it resulted in a thicker paste than desired.

For the silver electrode, I tried to use the same method, as I did not have access to a specialized roller press. Unfortunately, the silver did not adhere well to the graphite paper, which posed a challenge in handling it post-drying.

Setting up the Experiment

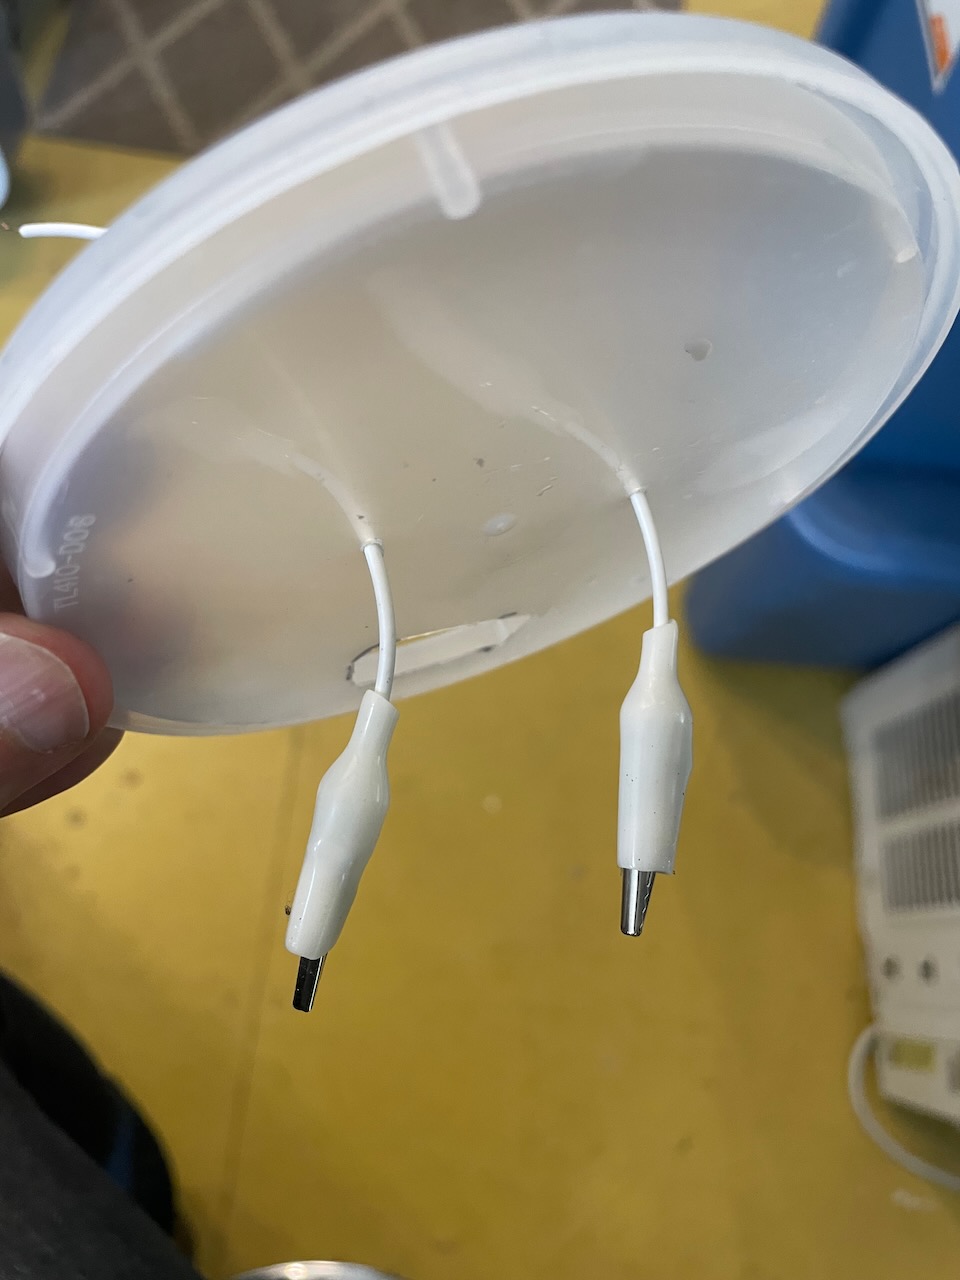
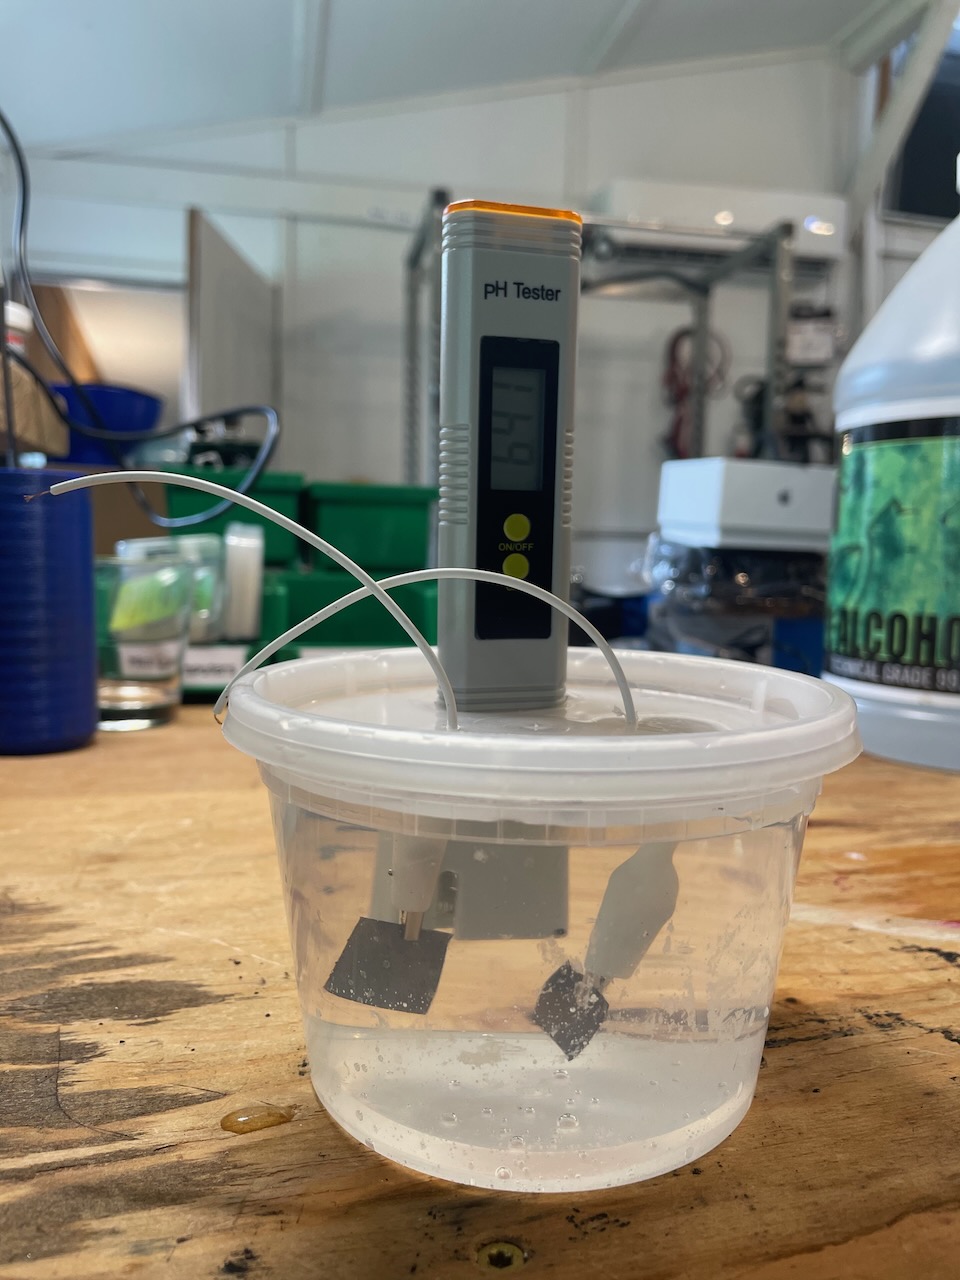
I prepared the simulated seawater as described in the paper and placed it in a half-pint deli container. Then, I clipped the 1x2 cm electrodes using alligator clips and connected them to a DC power supply through the lid of the container. To measure the pH, I created an additional hole in the lid to insert a pH meter into the seawater.

Running the Experiment

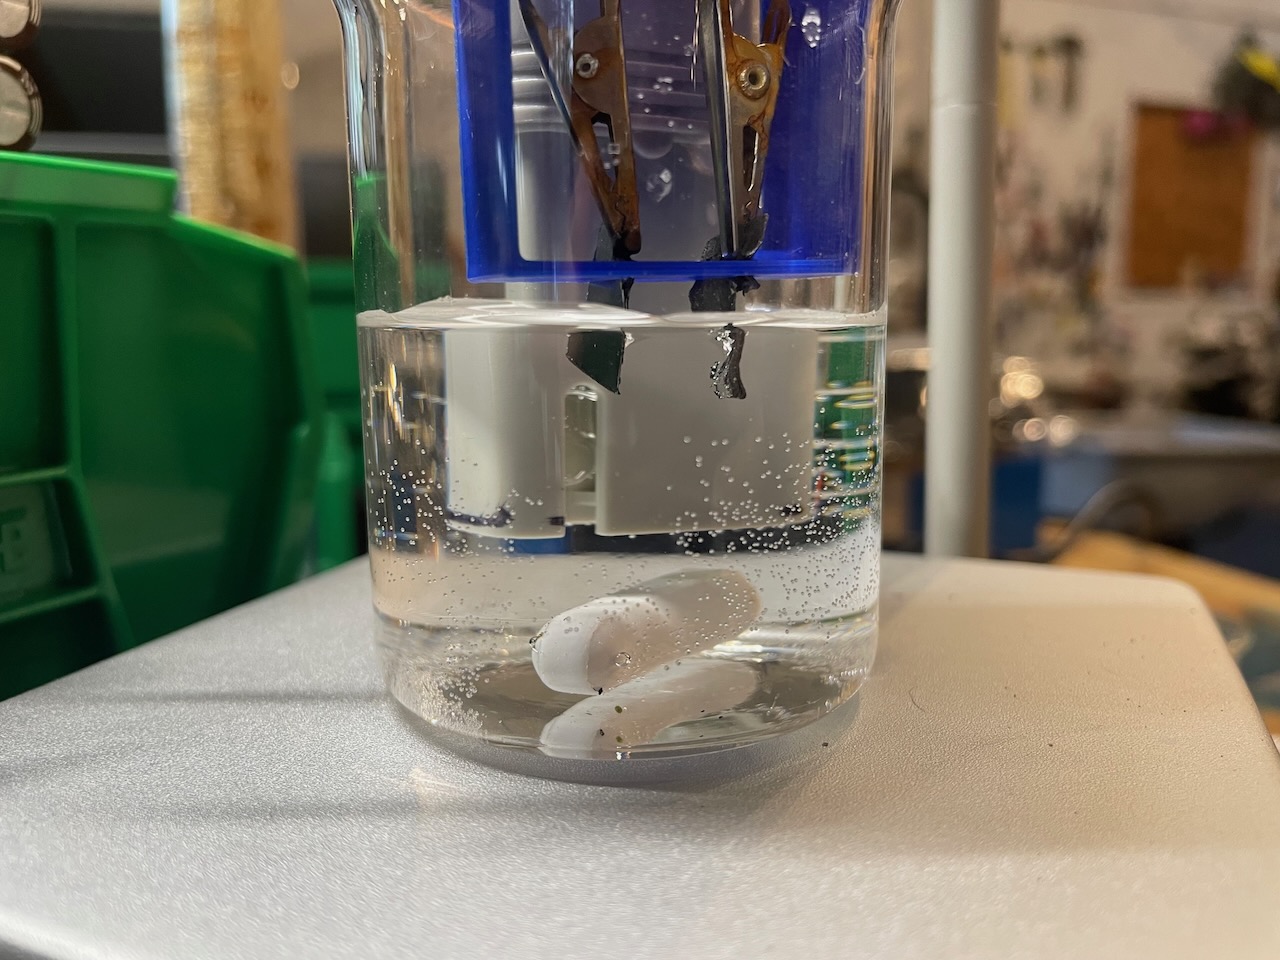
I set the power supply to a maximum of 1V at 1mA and monitored the pH meter. The pH reading fluctuated initially and began to trend downward, but this only lasted for about 10 minutes before stabilizing. I attempted to push the pH further down by increasing the power, but the pH did not change significantly.

Lessons Learned:

  1. The original experiment used 9mL of seawater, while I used approximately 400mL. I hoped the larger volume would still work but at a slower rate; however, this might not have been the case.
  2. Maintaining the specified 1 cm distance between the electrodes was challenging.
  3. To address these two issues, I plan to design a specialized 3D-printed test chamber for future experiments.
  4. Measuring the pH of seawater is complex. I need to study pH sensors further and apply my findings to improve the experiment in subsequent trials.

Conclusion: While I failed to get the result I wanted, the attempted provided insights that will inform version two.


If I were making a thin film electrode and having mechanical difficulties, I might try “reinforcing” and “binding agents”. So maybe the silver could be combined with some paper pulp and mixed with some acrylic like floor-sealer preparations? . . . or even paints? Although acrylic paint and sealer preparations tend to form water-proof surfaces, that might fail if the acrylic content were low enough (but still high enough for binding effects). One could try various ratios of paper-pulp:acrylic to find a mix that makes a strong enough film but that still admits some water - without the silver until the right range of composition is found. Could be more of a project than of interest, but on the other hand, though I lack silver powder, I DO have toilet paper and floor sealer . . .

Thanks, Cade-- This will be helpful as I prove this setup a bit more. I may also be able to just use silver foil as well…

It has been pointed out that my alligator clips are also submerged in the electrolyte. Silly mistake that I will correct for round two.

Another round of experiments in the bag! To summarize:

New Electrodes

I re-made the silver electrodes using the same formula as the bismuth electrodes. This fixed the adhering problem, as the PVDF binder acts more like a sticky rubber sheet. The proportions I’m using are as follows:

  • 2g metal powder
  • 0.25g carbon black
  • 0.25g PVDF
  • 6g NMP solvent

This creates an inky paste with the 8:1:1 ratio as described by the paper.

Better equipment

I bought a magnetic stirrer and some lab glassware off of amazon. The stirrer allows me to keep the water slightly agitated, so that any changes in pH are dispersed throughout. It also comes with a little arm that’s designed to hold a probe, which is handy for holding the pH meter in place.

Lastly, I 3d printed an electrode holder. It’s a lazy design, but it allows me to keep the alligator clips + electrodes exactly 1cm apart, and holds them at the correct level above the water.

Results?

I was over the moon when I ran the experiment and immediately saw results:

I saw a steady increase in pH over the 90 minutes I ran the experiment. It was slower than was reported in the paper, but it made some sense given that I was working with a larger volume of water (60mL versus 10mL).

Plot twist

In my excitement, I re-ran the experiment (using new electodes) with the polarity reversed expecting to see the pH swing in the opposite direction. However, the pH didn’t drop. It went up again, roughly at the same rate as before.

:frowning_face:

So, what happened here? Well, I’m not sure, but I noticed a few things. First, I noticed that the water slowly turned yellow as the experiment progressed. I suspect this is due to the creation of bismuth oxide. This probably indicates that there’s too much current passing through the setup, and I’m oxidizing one electrode and generating hydrogen from the other.


(Excuse the messy lab)

Second, I realized that I have the wrong silver powder. The paper refers to silver chloride, but I’m using pure silver. So… the chloride interactions that need to happen simply aren’t possible. (To be fair, it’s not totally my fault, as the paper definitely just says “silver powder” in the materials section.)

Upon realizing this, I ordered silver chloride powder. It should show up early next week. Once it gets here, I’ll run the experiment again.

Updates:

I re-ran the experiment with silver chloride. This time, I was able to observe the seawater solution pH decrease over time. When I reversed the polarity, however, the pH didn’t go back up. Oy vey…

I think there are three possibilities (listed in order of most to least likely):

  • The electrodes are dissolving into the solution, affecting the pH and quickly becoming nonfunctional
  • My power supply isn’t behaving as it says it is
  • The chemicals I bought contain impurities or are not as advertised

Next time through, I’m going to recreate the electrodes using a different binder. I’m also going to switch the power supply out for an actual potentiostat. Finally, I’ll check my chemicals using my Raman spectroscope. (It won’t be able to detect trace impurities, of course, but I’ll at least be able to see if something got mislabeled.)

1 Like

Success!

Starting with the exciting part first:

Results

This is a plot of the pH of my electrolyte over time as I alternately apply a +1.5V potential and a -1.5V potential. As you can see, I am able to achieve a reversable pH swing of around 0.35.

In this experiment, I am manually reversing the leads that are hooked up to my DC bench power supply. Switches happen at 11:15, 11:45, 12:30, etc.

Discussion

Two things I want to pull out of this chart:

First, you can see that there’s a slow, irreversible baseline increase in pH. I’m not sure why this is, but I highly suspect it has to do with the spontaneous formation of bismuth oxide. I’m not going to worry too much about it, as future versions of the experiment will be run in a de-gassed electrolyte, which may solve the problem.

Second is the relatively “shallow” swing that I’m showing here. This is due to the very small surface area of my electrodes (1cm^2) relative to the large volume of electrolyte (125mL). I expect to be able to show a wider swing by adjusting the size of the electrodes.

Chloride Loading

I found it interesting how this reaction is highly limited by the amount of chloride that can form on the electrodes: There’s a clear peak when the silver is fully loaded up with chloride, and a clear floor when it’s all released.

You can see this effect quite clearly if you start with plain bismuth and silver electrodes. The silver electrode has to ‘charge’ with chloride (raising the pH) before it can be ‘discharged’ (lowering the pH). If you begin with a silver chloride electrode, you can drive the pH down below the starting point.

pH Probe Upgrade

The key to getting this to work was upgrading to a high quality industrial-style pH probe hooked up to an Arduino.

More Electrodes

I’m making a new set of electrodes for the next round of experiments. I came up with some better techniques using a mortar and pestle, a scraper blade, and 3d-printed ‘templates’. If anyone would like a set of electrodes, please let me know-- I would be happy to send you a set.

1 Like